Piercing Aftercare
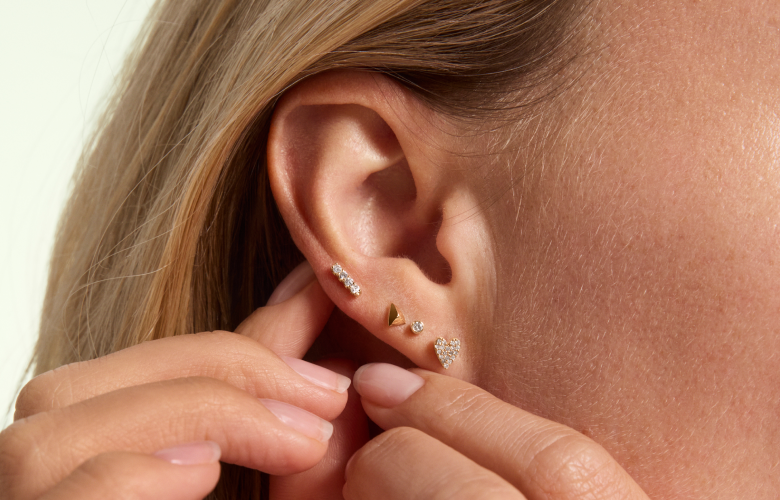
Piercing healing times vary by location, typically ranging from 3 to 12 months. Lobe piercings heal in 3 to 6 months, while cartilage takes 6 to 12 months, but everyone heals differently.
Tips for Taking Care
Keep in Mind
- •
To promote proper healing, always wash your hands before touching or cleaning your piercing, and keep your jewelry in until fully healed. We recommend booking a downsizing appointment 4-6 weeks after your piercing.
- •
Follow the aftercare instructions below, and if you have questions, ask your piercer. If you suspect an infection, please consult a doctor.
Hit The Shower
- •
Rinse in the Shower: While showering, gently rinse your piercing with warm water to help soften the skin and loosen any build-up around the jewelry.
- •
Use Gentle Soap: Carefully wash around your piercing using a mild, fragrance-free soap. Be sure to rinse well, as soap residue can irritate the healing wound. Avoid over-cleaning to prevent unnecessary irritation.
Saline Spray
- •
Saline Spray: Spray the saline solution generously to fully saturate your piercing, but avoid rotating your jewelry during the process.
- •
Saline Compress: Alternatively, you can use sterile gauze or a cotton swab soaked in saline solution as a compress. Just remember not to rotate your jewelry.
Let It Be
- •
Hands Off: Avoid touching, turning, or spinning your jewelry, as this can cause bacterial infections, micro-tears, or keloids. Only handle your piercing during cleaning, such as when showering.
- •
Be Cautious: Be mindful of your piercing when changing clothes, tucking your hair behind your ears, or any repetitive movements. Friction or bacteria from unwashed hands can irritate the area and slow healing.
Additional Tips
Do's
- •
Do follow these instructions and not the advice of your friends.
If you have any questions or concerns, our piercers are here to help. If you notice any signs of infection, such as excessive swelling, soreness, redness, or pus, please consult a healthcare professional.
- •
Do avoid swimming.
This means everything from public swimming pools, hot tubs, rivers, oceans, and lakes to home pools until your new piercing has healed. These water sources can be filled with harmful bacteria/parasites that can induce infection, and submerging your piercing in water can harm you/your piercing.
Dont's
- •
Don’t touch your piercing.
The best approach is a hands-off approach. Avoid touching your piercing to prevent the transfer of bacteria and infection. If you do happen to touch your piercing, make sure your hands are washed and clean. Also, avoid applying pressure to your piercing. Pressure of any sort impedes the healing process. - •
Don’t engage in rough activity that may threaten your piercing.
Intense friction or pulling on a fresh piercing is a common way to trigger infections, micro-tears, keloids, and migration (a process where the body tries to “push” the jewelry out of the piercing location). - •
Don’t overclean your piercing.
Cleaning more than twice a day (unless absolutely necessary) can irritate the piercing and prolong the healing process. If your piercing appears clean but is noticeably tender, taper your cleaning regimen down to once a day and eventually to an ‘as needed’ basis. As you progress through the healing process, you will develop a successful permanent cleaning routine. - •
Don’t use petroleum-based ointments, hydrogen peroxide, or rubbing alcohol on your healing piercing.
These are substances that will irritate your new piercing and slow down the healing process significantly. Using peroxide, alcohol, or other disinfectants is meant for infections and not during healing. - •
Don’t change out your jewelry or remove it while it’s healing.
Keep your jewelry in place throughout the healing process. The jewelry acts as a drain for the wound, and removing it too soon can cause the piercing to close up, trapping fluids and potentially leading to infection, which may require medical attention. However, we do recommend scheduling a downsizing appointment within 4-6 weeks of your initial piercing to ensure optimal healing and comfort.
WHAT’S NEXT?
After 4 to 6 weeks of healing, be sure to schedule a check-up appointment so we can downsize your backing for a more comfortable fit.
Book a Piercing Appointment


